


Mastering volleyball spike technique separates average attackers from dominant hitters who consistently terminate rallies and lead their teams in kills. Whether you’re an outside hitter learning your first approach or an experienced player refining mechanics to increase power and precision, understanding the biomechanical fundamentals of spiking creates immediate improvement in attacking effectiveness.
The spike represents volleyball’s most spectacular offensive weapon—a coordinated full-body movement combining explosive lower-body power, precise timing, maximum reach, and controlled upper-body mechanics. Players who develop technically sound spiking fundamentals generate greater ball velocity, improve shot placement accuracy, reduce shoulder injury risk, and become more versatile attackers capable of adjusting to defensive positioning.
This comprehensive guide breaks down volleyball spike technique into five distinct phases—approach footwork, explosive jump mechanics, arm swing preparation, ball contact technique, and controlled landing—providing the step-by-step progression coaches and players need to build powerful, efficient, and consistent attacking skills.
The best volleyball hitters don’t simply jump high and swing hard. They execute refined technical sequences that maximize vertical reach, generate rotational power through the kinetic chain, contact the ball at optimal points, and land safely for immediate transition. Understanding and drilling each phase separately before combining them into fluid attacking motion creates the foundation for championship-level offensive performance.

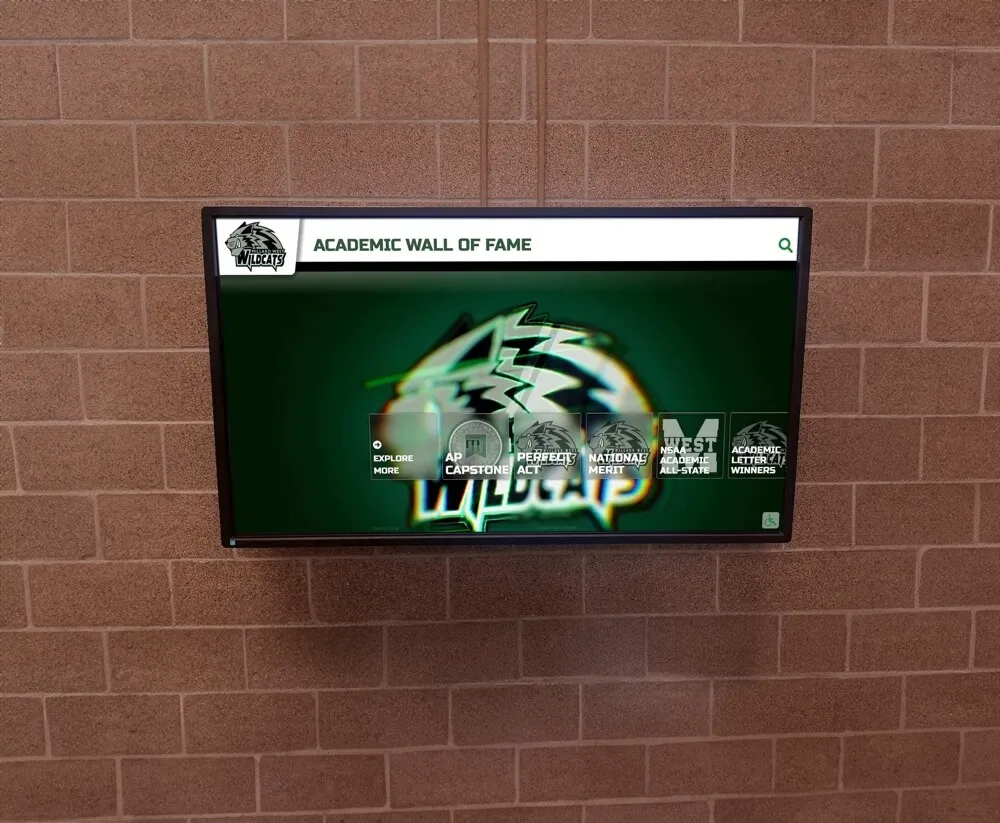
Championship volleyball programs build systematic skill development that produces recognized attackers and team success
Understanding the Complete Volleyball Spike Sequence
Before breaking down individual phases, hitters benefit from understanding how each component connects to create the complete attacking motion.
The Five Phases of Effective Spiking
Phase 1: The Approach The approach builds horizontal momentum that converts into vertical explosion:
- Controlled acceleration toward the attack point
- Directional adjustment based on set location
- Penultimate step timing that loads for maximum jump
- Arm swing initiation that begins the kinetic chain
- Visual tracking of the ball throughout approach
Phase 2: The Jump The explosive vertical component that maximizes reach at contact:
- Penultimate step plant that redirects horizontal energy upward
- Heel-to-toe blocking motion that loads the ankle-knee-hip system
- Coordinated arm swing driving upward momentum
- Core engagement creating stable aerial platform
- Peak vertical timing matching set trajectory
Phase 3: The Arm Swing The power generation sequence from shoulder through hand:
- High elbow position establishing efficient leverage
- Shoulder external rotation loading elastic energy
- Rotational acceleration through the kinetic chain
- Elbow-led whipping motion maximizing hand speed
- Core rotation adding torque to upper body mechanics
Phase 4: Ball Contact The critical moment where technique translates to ball velocity and placement:
- Contact point above and in front of the hitting shoulder
- Open hand with fingers spread creating ball surface contact
- Wrist snap generating topspin for downward trajectory
- Follow-through direction determining shot placement
- Visual focus on contact point throughout swing
Phase 5: The Landing Controlled deceleration protecting joints and enabling quick transition:
- Balanced two-foot landing absorbing impact forces
- Slight knee flexion dispersing landing stress
- Neutral spine alignment preventing back strain
- Immediate readiness for defensive positioning
- Safe landing technique preventing ankle and knee injuries
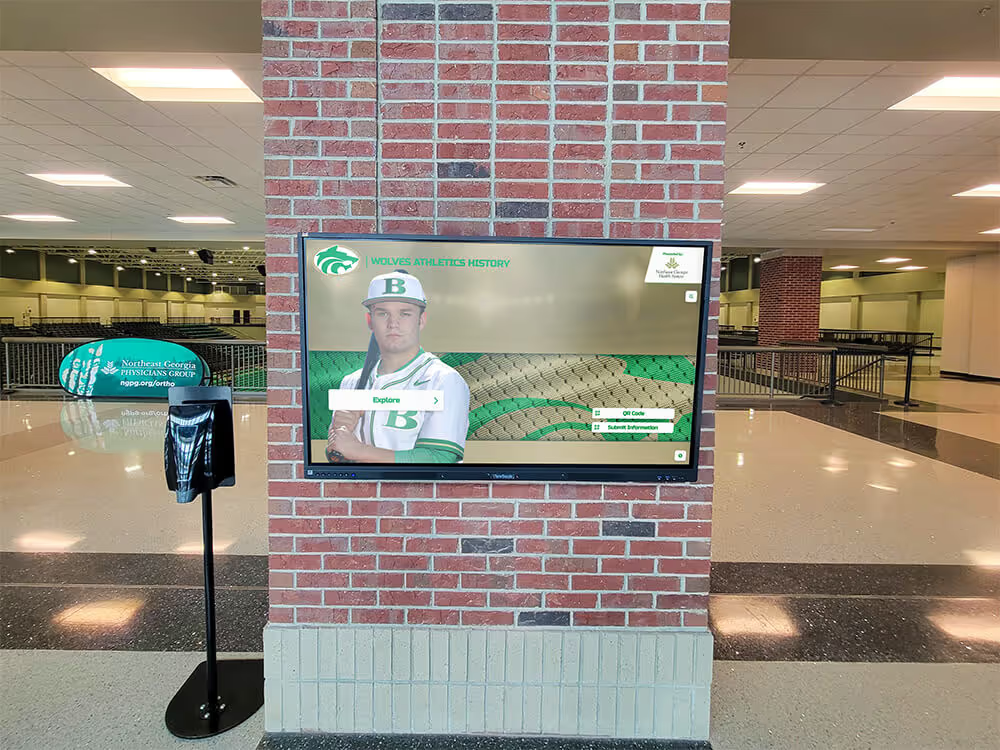
Explore how championship programs systematically develop these skills in comprehensive athletic training environments.

Programs that invest in systematic skill development create recognized athletes worthy of permanent celebration
Phase 1: Mastering the Volleyball Hitting Approach
The approach establishes the foundation for explosive jumping and powerful contact—rushing or mistiming this phase undermines everything that follows.
Three-Step vs Four-Step Approach Footwork
Right-handed hitters typically use specific stepping patterns optimizing momentum transfer:
Four-Step Approach (Most Common) The standard sequence for outside hitters and right-side attackers:
- Step 1 (Right foot): Small directional step establishing angle toward set
- Step 2 (Left foot): Moderate step continuing approach acceleration
- Step 3 (Right foot): Penultimate step—longer stride that begins converting horizontal momentum
- Step 4 (Left foot): Final plant step closing feet together for explosion
This approach works particularly well for outside hitters who need directional adjustment based on pass quality and set location.
Three-Step Approach (Quicker Option) A faster approach sequence used for tempo sets or quick attacks:
- Step 1 (Left foot): Directional step orienting toward set location
- Step 2 (Right foot): Penultimate loading step
- Step 3 (Left foot): Final plant closing feet for jump
Middle blockers and attackers running quick sets often prefer the three-step approach because it allows faster timing on first-tempo attacks.
Approach Timing and Set Reading
The approach’s success depends on reading the set and timing acceleration:
Reading the Set Trajectory
- Begin approach when the ball reaches the setter’s hands (for outside sets)
- Adjust approach speed based on set arc and depth
- Visual tracking maintains connection between eyes and ball
- Late recognition of set quality allows directional adjustment
- Communication with setter establishes consistent tempo expectations
Building Controlled Acceleration
- Start approach at moderate pace allowing directional changes
- Gradual acceleration prevents over-running tight sets
- Maximum speed reached at penultimate step, not earlier
- Balance maintained throughout approach enables adjustment
- Arms swing naturally at sides during early approach steps
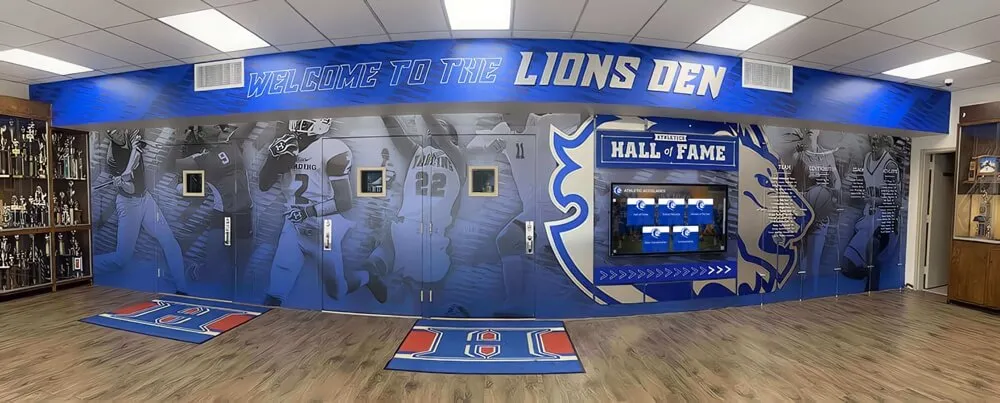
Understanding systematic volleyball skill development appears in comprehensive athletic training programs that produce recognized athletes.
Penultimate Step Mechanics
The second-to-last step serves as the critical transition converting forward momentum into upward explosion:
Proper Penultimate Step Execution
- Longer stride compared to other approach steps
- Heel contact initiates the braking and redirection motion
- Low body position with flexed knee loads the jumping muscles
- Arms begin swinging backward preparing for upward drive
- Weight shifts slightly backward slowing horizontal momentum
Common Penultimate Step Errors
- Too short a step fails to adequately brake horizontal momentum
- Upright body position prevents proper muscle loading
- Arms remaining at sides misses momentum-building opportunity
- Excessive backward lean creates off-balance jumping position
- Late timing rushes the final plant step
Phase 2: Explosive Jump Mechanics for Maximum Height
The jump converts approach momentum into maximum vertical reach—the difference between contacting balls at the top of the net versus well above blockers.
The Heel-to-Toe Plant Sequence
The final approach step creates the explosive base for vertical jumping:
Final Step Mechanics
- Left foot plants quickly after right foot’s penultimate step
- Feet should be roughly shoulder-width apart for balance
- Heel-to-toe contact (not flat-footed) allows ankle contribution
- Both feet pointing toward the net or slightly across court
- Quick plant timing prevents momentum dissipation
The Ankle-Knee-Hip Triple Extension Maximum vertical explosion requires coordinated triple extension:
- Ankle plantarflexion driving through the balls of the feet
- Knee extension powered by quadriceps and glutes
- Hip extension engaging posterior chain muscles
- Simultaneous rather than sequential firing pattern
- Core engagement creating rigid transfer of lower-body power
Arm Swing Contribution to Vertical Jump
The arm swing contributes significant vertical momentum beyond leg power alone:
Proper Arm Swing Sequence
- Arms swing backward during penultimate step reaching behind hips
- Explosive forward and upward swing during final plant step
- Elbows stay relatively straight throughout the swing
- Arms reach maximum height overhead at takeoff
- Bilateral symmetry maintains balanced aerial position
Research on vertical jump mechanics demonstrates that proper arm swing technique adds 4-6 inches to vertical reach—the difference between contacting balls at or above the block.

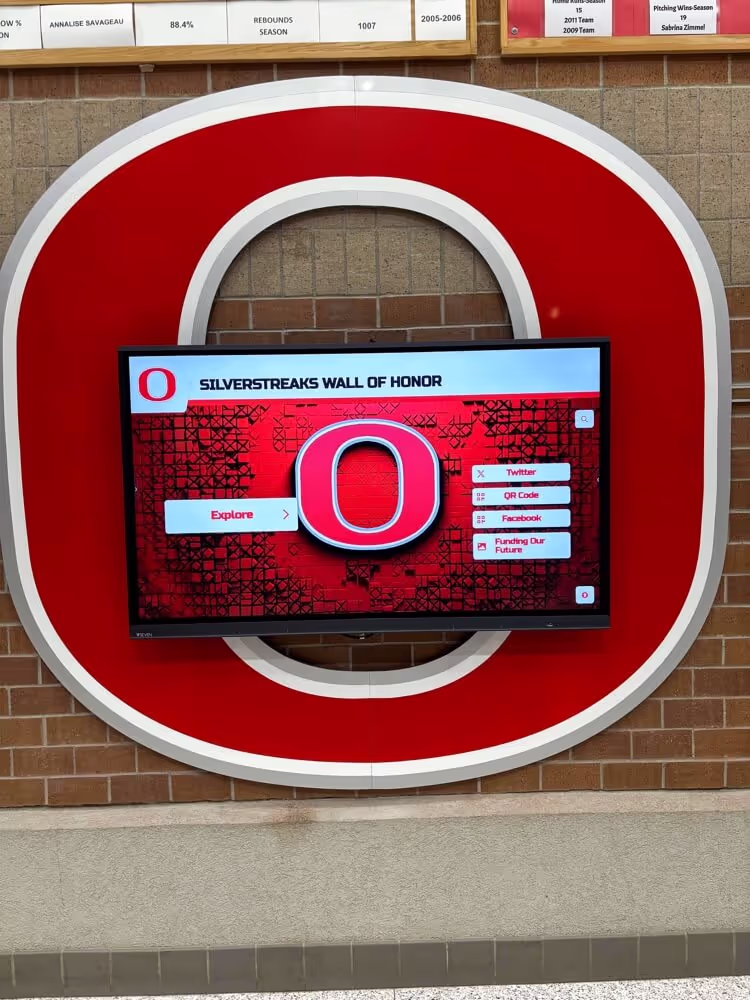
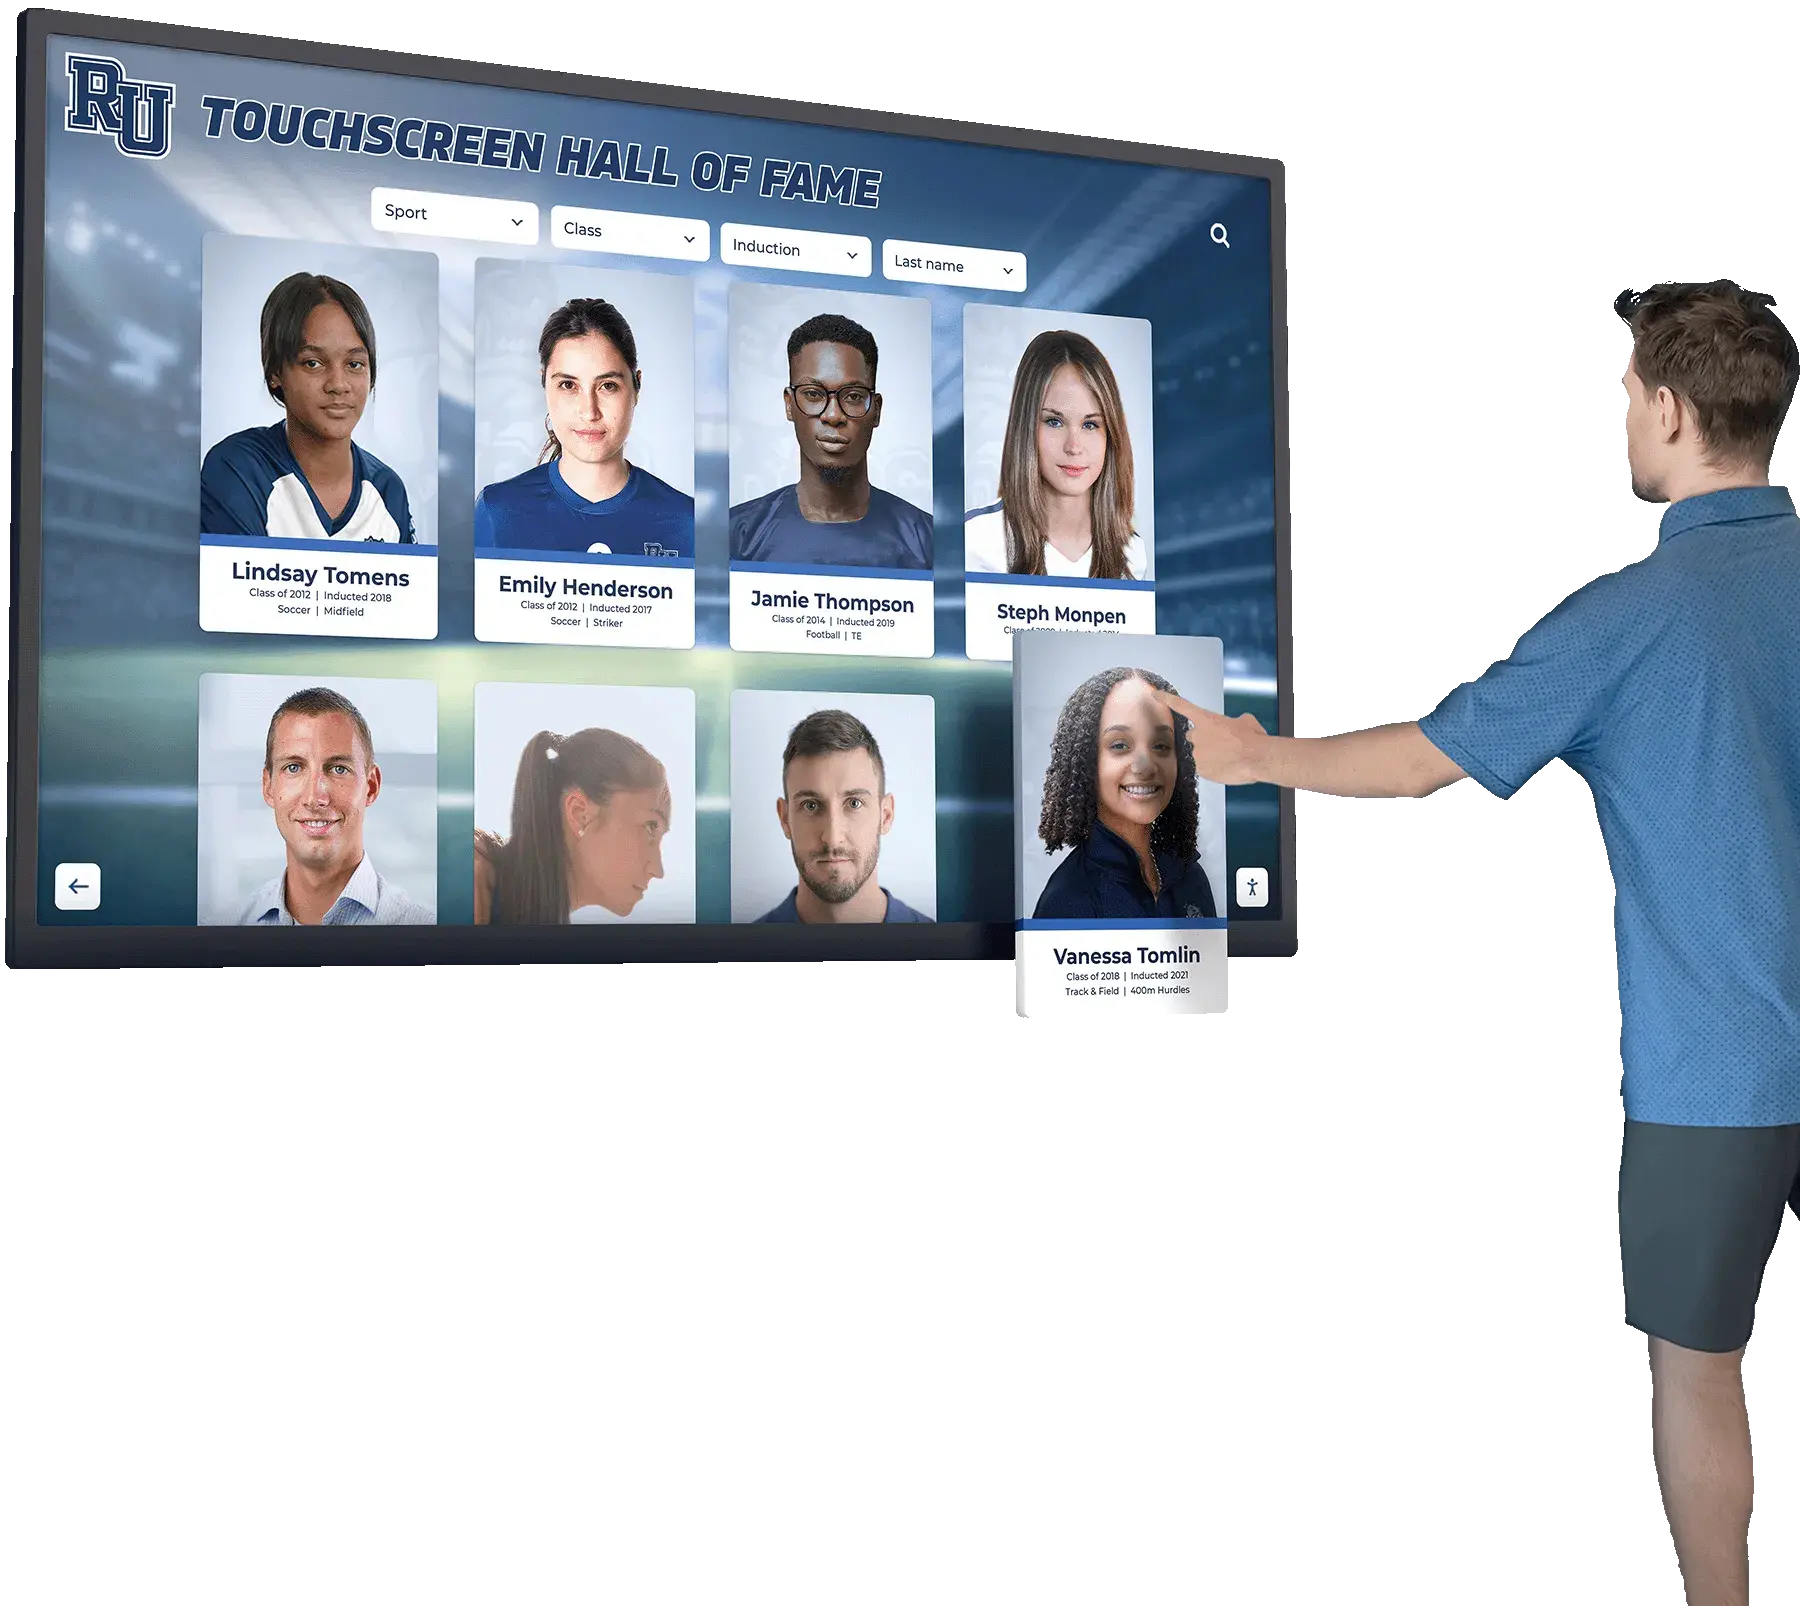
Modern recognition systems celebrate kill leaders and statistical achievements from championship volleyball seasons
Body Position at Peak Height
Proper aerial mechanics create stable platforms for powerful swings:
Optimal Body Alignment in the Air
- Shoulder line parallel to the net (not opened or closed)
- Core engaged preventing excessive backward arch
- Non-hitting arm elevated maintaining balance
- Hips square to the target creating rotational potential
- Eyes focused on the ball throughout jump ascent
Common Aerial Position Errors
- Opening shoulders early reduces swing power and control
- Excessive back arch indicates weak core engagement
- Dropping non-hitting arm creates shoulder imbalance
- Drifting laterally suggests poor approach angle or plant position
- Looking down at the floor rather than tracking the ball
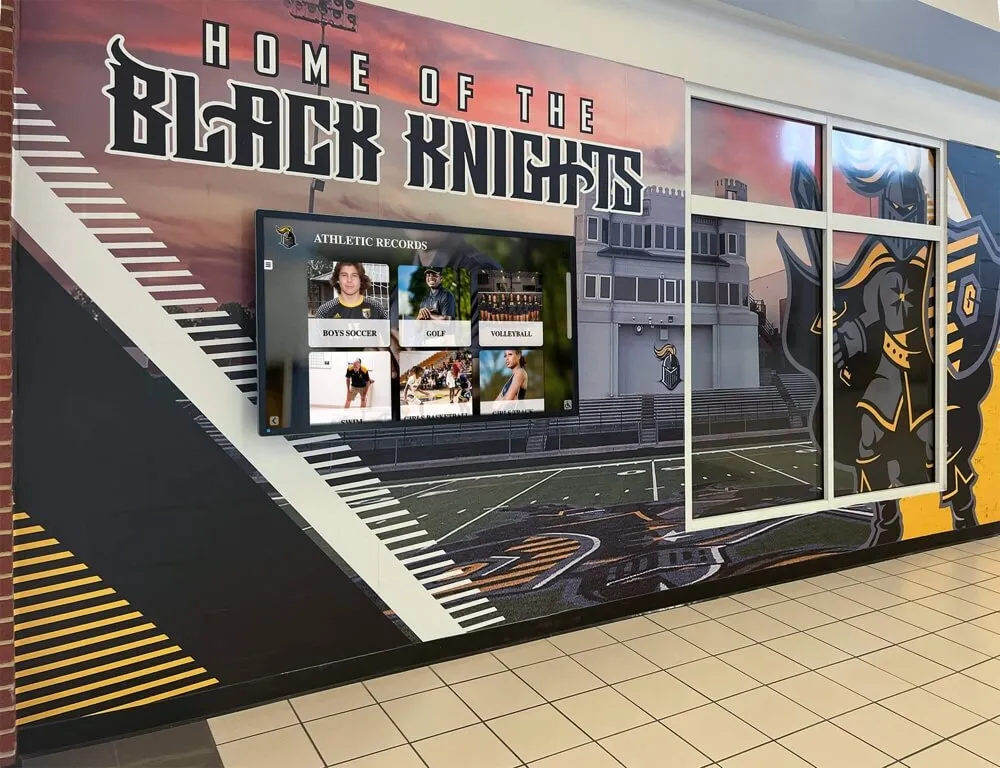
Programs building systematic volleyball excellence appear in athletic facility design and training approaches creating recognized athletes.
Phase 3: Arm Swing Mechanics for Maximum Power
The arm swing represents the power-generating sequence converting body momentum into ball velocity through the kinetic chain.
The High Elbow Position
Establishing proper elbow height determines swing efficiency and injury prevention:
Ideal Elbow Placement
- Elbow rises above shoulder height during backswing
- Upper arm approximately parallel to the ground at top of backswing
- Elbow positioned slightly behind shoulder creating “bow and arrow” position
- Hand relaxed and open (not clenched) during preparation phase
- Shoulder externally rotated loading elastic connective tissue
This high elbow position creates optimal leverage and engages the shoulder’s strongest muscle groups while protecting the rotator cuff from impingement injuries common in low-elbow swing patterns.
Avoiding the Dropped Elbow Low elbow position—often called “throwing around the ball”—creates several problems:
- Reduced leverage decreases power generation
- Increased shoulder impingement risk
- Difficult ball contact point limiting placement options
- Slower swing speed from poor kinetic chain sequencing
- Limited ability to generate effective topspin
The Kinetic Chain Sequence
Maximum hitting power comes from sequential energy transfer through the body:
Proper Power Generation Sequence
- Core rotation initiates movement: Hip and trunk rotation begins the sequence
- Shoulder follows core rotation: Chest opens toward target after hips rotate
- Elbow leads arm forward: Elbow-led movement creates whipping action
- Forearm accelerates through: Rapid forearm rotation maximizes hand speed
- Wrist snap at contact: Final acceleration component adding topspin
This sequential pattern—proximal to distal energy transfer—generates far more hand speed than isolated arm swing attempting to create power through shoulder alone.
Shoulder Rotation and Loading
The shoulder’s preparatory position stores and releases elastic energy:
External Rotation Loading Phase
- Shoulder externally rotates during the backswing creating “cocked” position
- Rotator cuff muscles eccentrically load storing elastic energy
- Scapula properly positioned on ribcage creating stable base
- Stretch reflex in anterior shoulder contributes to acceleration
- Proper loading prevents excessive stress on shoulder joint
Internal Rotation Acceleration Phase
- Rapid internal rotation releases stored elastic energy
- Large muscle groups (lats, pecs) generate primary power
- Rotator cuff stabilizes joint during high-velocity movement
- Scapular muscles maintain proper glenohumeral alignment
- Controlled deceleration prevents follow-through injury
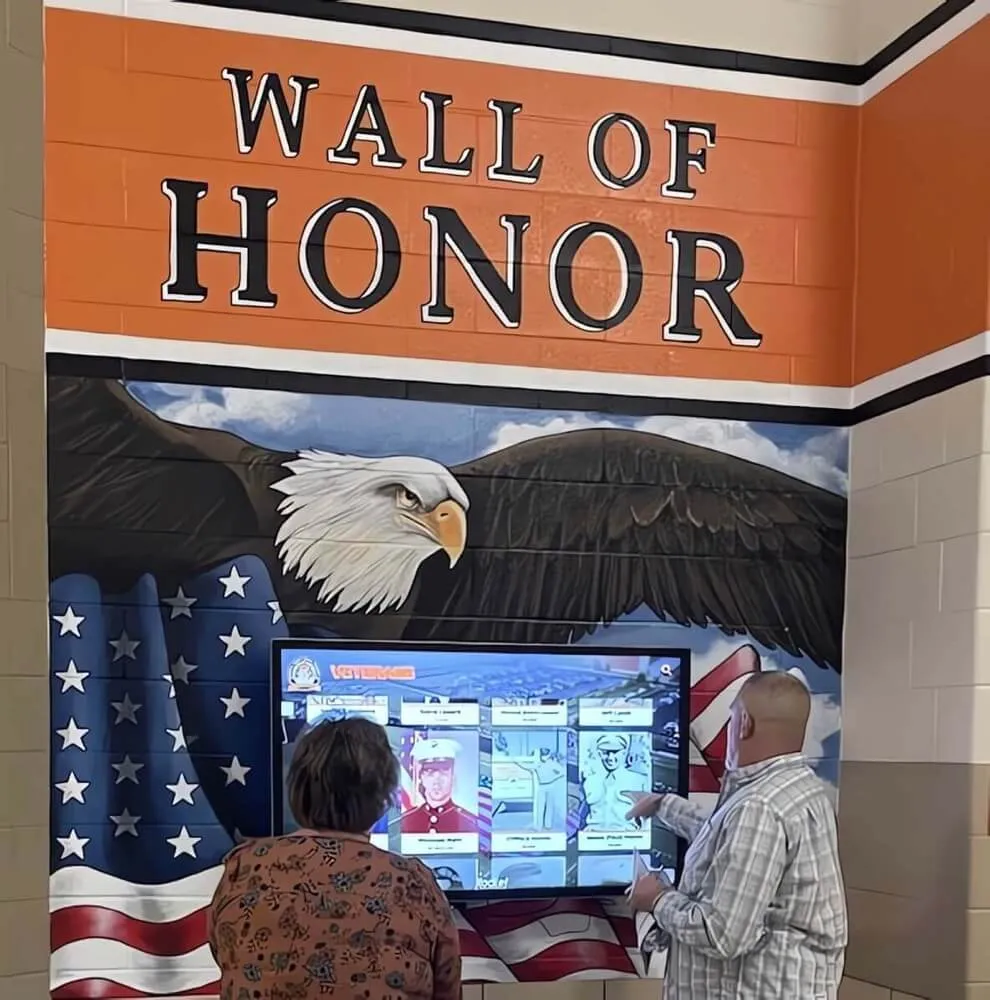
Athletes developing these skills deserve recognition in comprehensive student achievement celebrations.

Digital recognition platforms showcase volleyball statistical leaders and all-conference performers with engaging interactive displays
Phase 4: Ball Contact Technique and Placement
The contact moment transforms mechanical preparation into offensive execution—small variations in contact point, hand position, and wrist action dramatically affect shot outcome.
Optimal Contact Point Location
Contact point determines power potential and shot placement options:
Ideal Contact Point Positioning
- Height: Maximum reach at the peak of the jump
- Horizontal: 6-12 inches in front of hitting shoulder
- Lateral: Directly above or slightly inside the hitting shoulder
- Relation to body: Ball contacted while body still ascending or at peak (not descending)
- Visual focus: Eyes tracking ball into the hand at contact
Contact too far in front reduces power but increases sharp downward angle capability. Contact too far back increases power but reduces control and creates flatter trajectory more easily defended.
Adjusting Contact Point for Different Shots
Different attacking situations require contact point variations:
- Power swing (line or cross-court): Standard contact point directly in front
- Sharp angle cut shot: Contact point shifted 6-8 inches toward centerline
- Line tool shot: Contact point shifted slightly outside creating inside-out swing path
- Off-speed shot: Contact point further in front allowing deceleration
- Tip or roll shot: Contact point well in front enabling controlled contact
Hand Position and Ball Contact Surface
How the hand meets the ball determines spin, power, and control:
Open Hand Contact Technique
- Fingers spread comfortably (not excessively) creating broad contact surface
- Firm hand and wrist (not rigid) at contact moment
- Palm and fingers contact ball—not just fingertips
- Fingers wrap slightly over top of ball generating topspin
- Contact center-top of ball for downward trajectory with spin
Creating Effective Topspin Topspin causes the ball to drop faster, bringing attacks down into the court:
- Contact top-back portion of ball with open hand
- Wrist snaps forward at contact adding spin
- Follow-through motion continues downward after contact
- Fingers brush over the ball rather than pushing through it
- Greater topspin allows more aggressive swings staying in bounds
Wrist Snap and Follow-Through
The final acceleration and ball separation moments affect trajectory and spin:
Proper Wrist Action
- Wrist begins in neutral or slightly extended position
- Rapid flexion (“snap”) occurs at the contact moment
- Wrist snap adds final velocity increment and topspin
- Controlled wrist action (not excessive or forced)
- Wrist flexibility contributes to contact point adjustment
Follow-Through Direction Follow-through determines shot direction and power completion:
- Arm continues downward across body after contact
- Follow-through finishes near opposite hip for cross-court shots
- Follow-through remains more in front for line shots
- Complete follow-through prevents deceleration before contact
- Controlled follow-through allows quicker transition to defense
Programs celebrating these achievements appear in comprehensive athletic recognition systems honoring statistical leaders.
Phase 5: Controlled Landing and Injury Prevention
How hitters return to the floor determines both injury risk and transition readiness for the next play.
Proper Two-Foot Landing Mechanics
Balanced landing technique protects joints while enabling quick defensive positioning:
Safe Landing Sequence
- Both feet contact floor simultaneously or nearly simultaneously
- Ball of feet contact slightly before heels (not flat-footed landing)
- Knees flex to approximately 45-60 degrees absorbing impact
- Hips flex slightly bringing torso forward over feet
- Arms naturally balance body during deceleration
- Core engaged maintaining spinal alignment
Landing Position Relative to Takeoff
- Land slightly forward of takeoff position (natural momentum result)
- Avoid excessive forward drift suggesting poor approach angle
- Lateral drift minimal indicating balanced aerial mechanics
- Landing zone clear of net and center line preventing contact violations
- Spatial awareness of teammates prevents landing collisions
Knee and Ankle Protection Strategies
Lower extremity injuries often result from poor landing mechanics:
Preventing Knee Injuries
- Knees track over toes (not collapsing inward) during landing flexion
- Adequate knee flexion distributes forces rather than rigid landing
- Neuromuscular control training improves landing mechanics
- Eccentric strength in hamstrings and glutes protects ACL
- Avoid single-leg landings creating asymmetric force loading
Ankle Protection Considerations
- Appropriate footwear with ankle support reduces injury risk
- Landing on balls of feet allows ankle contribution to absorption
- Ankle stability exercises improve proprioceptive control
- Avoid landing on other players’ feet (spatial awareness)
- Heel-toe rolling motion distributes impact forces
Transition to Defensive Position
Elite hitters land ready for immediate defensive responsibility:
Post-Landing Transition
- Quick visual check of ball trajectory after spike
- Immediate movement to defensive position assignment
- Balanced landing allows quick lateral movement
- Mental transition from offense to defense
- Communication with teammates regarding coverage responsibility
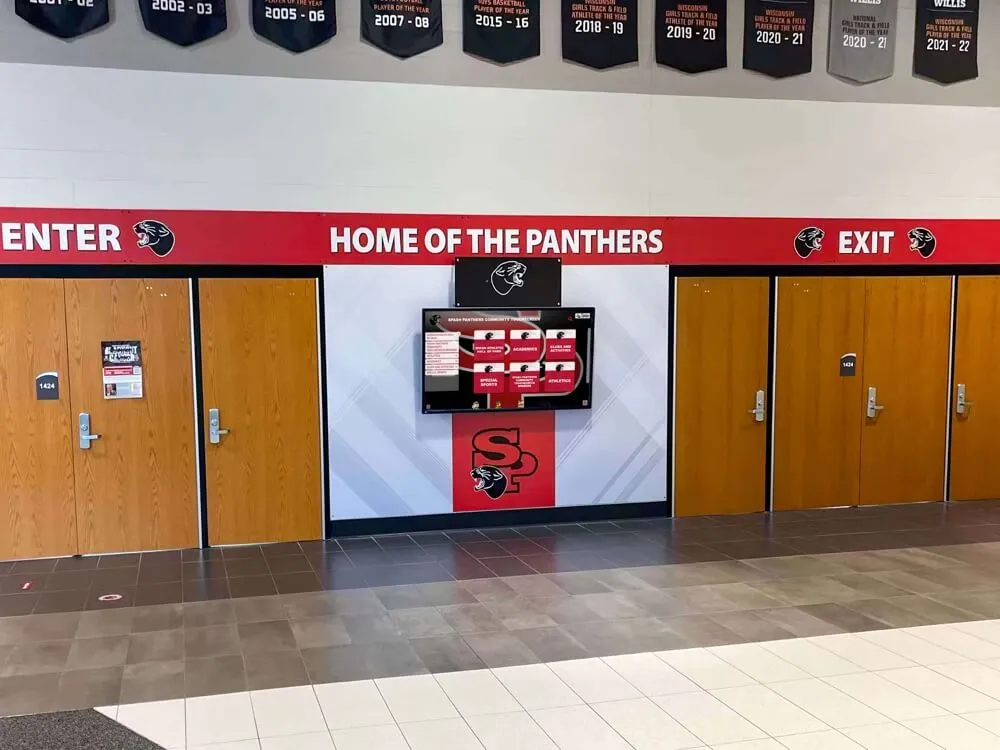
Systematic athletic development creating these skills appears in comprehensive coaching approaches building championship programs.

Championship volleyball programs create cultures of excellence worthy of permanent recognition and celebration
Common Volleyball Spike Technique Errors and Corrections
Understanding frequent technical mistakes accelerates improvement for coaches and players addressing specific issues.
Approach and Timing Problems
Problem: Over-running or under-running the set
- Cause: Starting approach too early or too late relative to set trajectory
- Correction: Practice reading setter’s release point; adjust initial approach timing
- Drill: Approach timing repetitions with various set heights and locations
Problem: Approaching too square to the net
- Cause: Incorrect angle limiting shoulder rotation potential
- Correction: Approach at 30-45 degree angle opening hitting options
- Drill: Angle-specific approach repetitions from various court positions
Problem: Rushing the approach losing balance
- Cause: Accelerating too quickly preventing adjustment to set variations
- Correction: Controlled acceleration building speed through approach
- Drill: Progressive acceleration approaches emphasizing balance and control
Jump and Aerial Position Errors
Problem: Insufficient vertical height
- Cause: Poor arm swing contribution, inadequate approach momentum, weak leg drive
- Correction: Vertical jump training, arm swing emphasis, approach technique refinement
- Drill: Approach jump repetitions focusing on maximum height markers
Problem: Drifting under the ball at contact
- Cause: Approaching too aggressively, late penultimate step
- Correction: Earlier penultimate step, controlled approach speed
- Drill: Approach repetitions with floor markings indicating proper plant position
Problem: Opening shoulders early in the air
- Cause: Rushing arm swing, looking at target rather than ball
- Correction: Delayed shoulder rotation, eyes on ball until contact
- Drill: Freeze-technique repetitions holding proper aerial position
Arm Swing and Contact Issues
Problem: Dropped elbow reducing power
- Cause: Insufficient shoulder strength, poor motor pattern development
- Correction: High elbow emphasis drills, shoulder strengthening exercises
- Drill: Standing swing repetitions emphasizing high elbow position
Problem: Contacting ball too far back
- Cause: Early arm swing, insufficient forward lean, late jump timing
- Correction: Delayed swing initiation, approach timing adjustment
- Drill: Toss-and-catch drills establishing proper contact point location
Problem: Little or no topspin on attacks
- Cause: Wrist too rigid, contacting center or bottom of ball, insufficient follow-through
- Correction: Wrist snap emphasis, contact point adjustment, complete follow-through
- Drill: Ball control exercises emphasizing topspin generation
Programs developing consistent technical excellence create recognized athletes celebrated in permanent athletic displays.
Position-Specific Spike Technique Variations
While fundamental spiking mechanics remain consistent, different positions require specific technical adaptations.
Outside Hitter Technique Considerations
Outside hitters attack from the left side requiring specific adjustments:
Approach Angle Specifics
- Approach angle typically 30-45 degrees from left sideline
- Broader angle opens cross-court attacking lanes
- Adjustment based on pass quality and set location
- Ability to attack both line and angle from same approach
Shot Selection and Placement
- High-percentage cross-court power swing primary option
- Down-the-line shot requiring contact point adjustment
- Cut shot (sharp angle) using inside contact point
- Tool shot off blocker’s outside hand
- Off-speed shots mixing tempos
Middle Blocker Quick Attack Technique
Middle blockers execute faster tempo attacks requiring technical modifications:
Compressed Approach Timing
- Shorter approach beginning as ball leaves passer’s hands
- Three-step approach more common than four-step
- Explosive vertical jump emphasized over horizontal momentum
- Quick arm swing matching faster set tempo
- Deception through consistent approach regardless of play called
Quick Set Contact Adjustments
- Contact point often closer to body due to faster tempo
- Less time for maximum backswing preparation
- Quick wrist snap compensating for reduced swing time
- Shot placement through contact point variation rather than full swing redirection
- Transition speed to blocking emphasized after attack
Right Side and Opposite Hitter Approaches
Right-side attackers face unique challenges attacking from the right:
Left-Handed vs Right-Handed Approaches Right-handed opposites approach from the right side:
- Approach angle more perpendicular to net than outside hitters
- Four-step approach typically ends with right-left plant (reversed from outside)
- Contact point adjustment creating effective cross-court angles
- Line shot becomes high-percentage option
- Back-set timing from setter requires different visual tracking
Setting and Timing Differences
- Back sets travel longer distances affecting timing
- Visual connection with setter more challenging
- Later approach initiation compared to outside hitters
- Shot selection often features more line attacks
- Blocking transition particularly critical from right side
Specialized skill development creating these athletes deserves celebration in comprehensive recognition programs.
Progressive Skill Development Drills for Spiking
Systematic drill progression builds technical proficiency from fundamental components to game-speed execution.
Beginner Progression: Building the Foundation
Phase 1: Standing Contact Technique Establish proper hand and wrist mechanics without approach complexity:
- Stand on box or chair at net height
- Focus exclusively on contact point, hand position, wrist snap
- Partner tosses balls to proper contact location
- Emphasis on topspin generation and follow-through
- 3 sets of 15-20 repetitions daily
Phase 2: Approach Without Jumping Develop approach footwork patterns separately from jumping:
- Execute full approach sequence without jumping
- Emphasize penultimate step and final plant mechanics
- Arm swing initiated but no vertical explosion
- Coach feedback on footwork, timing, balance
- Progress through various set locations and heights
Phase 3: Approach and Jump Without Ball Combine approach and jump mechanics before adding ball contact complexity:
- Full approach sequence with maximum vertical jump
- Arm swing through complete range of motion
- Aerial body positioning emphasis
- Landing technique and balance
- Touch height markers at jump peak
Intermediate Progression: Combining Components
Phase 4: Toss-and-Hit Repetitions Integrate approach, jump, and contact with simplified ball delivery:
- Partner standing on box tosses to consistent location
- Full approach and spike execution
- Immediate feedback on technical components
- Volume repetitions building motor pattern consistency
- 4-6 sets of 10-12 repetitions per session
Phase 5: Self-Tossed Attacks Develop timing and set reading with self-initiated sets:
- Hitter tosses ball to setter or uses self-toss
- Create realistic set trajectory and timing
- Approach and attack decision-making
- Variable set height and location
- Shot placement targets
Phase 6: Live Setter Repetitions Progress to game-realistic set delivery:
- Setter delivers sets from various pass qualities
- Hitter adjusts approach based on set location
- Shot selection based on defensive positioning
- Transition rhythm between plays
- Mental focus and consistency emphasis
Advanced Progression: Game-Speed Execution
Phase 7: Pass-Set-Hit Sequences Complete offensive sequences with realistic ball movement:
- Include passing variability affecting set quality
- Hitter adjusts approach to imperfect sets
- Communication with setter on timing and location
- Multiple hitters rotating through
- Defensive players creating realistic blocking
Phase 8: Competitive Wash Drills Game pressure situations requiring execution under stress:
- Offensive team vs defensive team scoring
- Winners stay on court format
- Point pressure creating competitive intensity
- Consequence for errors maintaining focus
- Statistical tracking of kill percentage and efficiency
Programs building this systematic development create athletes worthy of recognition in comprehensive athletic celebration systems.
Strength Training for Volleyball Spiking Power
Technical proficiency combines with physical capabilities—targeted strength training enhances spike velocity and injury prevention.
Lower Body Power Development
Explosive jumping requires specific lower body training emphasis:
Primary Exercises for Vertical Jump
- Back squats: Build foundational leg strength (3-5 sets of 4-6 reps)
- Front squats: Emphasize quad development and upright torso position
- Romanian deadlifts: Posterior chain development for hip extension power
- Bulgarian split squats: Single-leg strength addressing imbalances
- Box jumps: Reactive power translating strength to explosive movement
Olympic Lifting Variations
- Power cleans: Total body power through triple extension
- Hang cleans: Emphasize explosive second pull phase
- Push press: Overhead power transfer from lower body
- Jump squats: Ballistic movement under load
Upper Body and Shoulder Strength
Shoulder health and swing power require balanced upper body development:
Rotator Cuff Strengthening
- External rotation exercises with bands or cables
- Internal rotation strength for balanced development
- Scapular stabilization exercises (YTWLs, rows)
- Proper shoulder blade positioning during all movements
- High repetition ranges (12-15 reps) with moderate resistance
Primary Shoulder and Back Exercises
- Overhead press: Develop overhead strength and stability
- Pull-ups/Lat pulldowns: Build hitting muscle primary movers
- Dumbbell rows: Unilateral back strength and scapular control
- Push-ups: Functional pressing strength and core stability
- Medicine ball throws: Rotational power specific to hitting motion
Core Stability and Rotational Power
The core transfers lower body power to upper body swing mechanics:
Anti-Rotation Core Exercises
- Pallof presses maintaining stable torso against rotational forces
- Single-arm farmer’s carries building anti-lateral flexion strength
- Dead bugs emphasizing neutral spine maintenance
- Planks and side planks for foundational stability
- Bird dogs developing coordinated stability
Rotational Power Development
- Medicine ball rotational throws generating explosive rotation
- Cable or band rotational movements
- Landmine rotations under load
- Russian twists with medicine ball
- Woodchops emphasizing diagonal patterns
Celebrating Volleyball Excellence and Athletic Achievement
Programs that invest in systematic volleyball skill development—from fundamental spike technique through advanced tactical execution—create exceptional athletes whose achievements deserve lasting recognition. Outside hitters leading teams in kills, all-conference performers demonstrating technical mastery, and athletes earning all-state recognition represent years of dedicated training, coaching excellence, and competitive commitment.

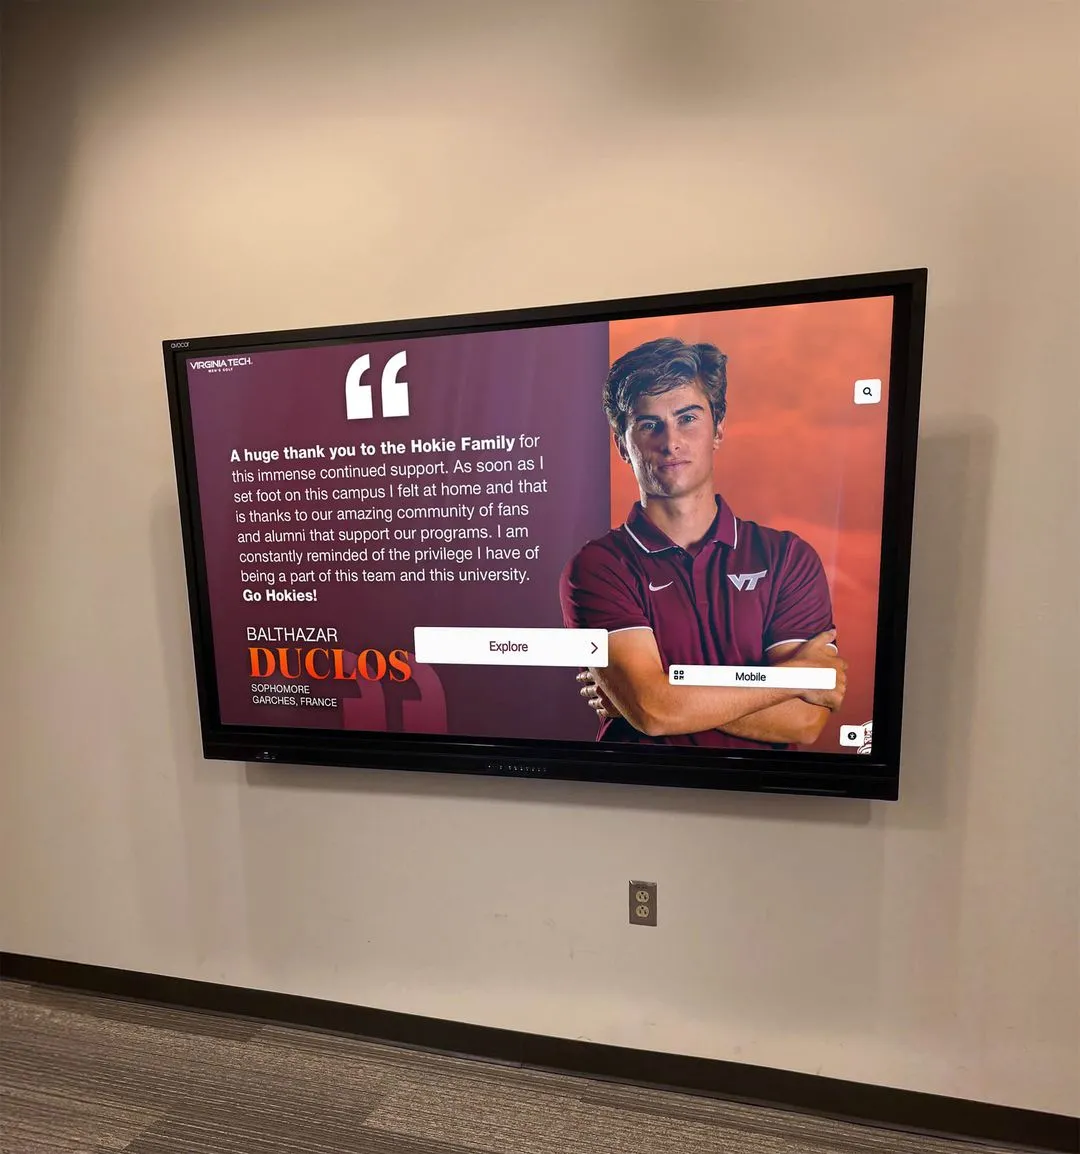
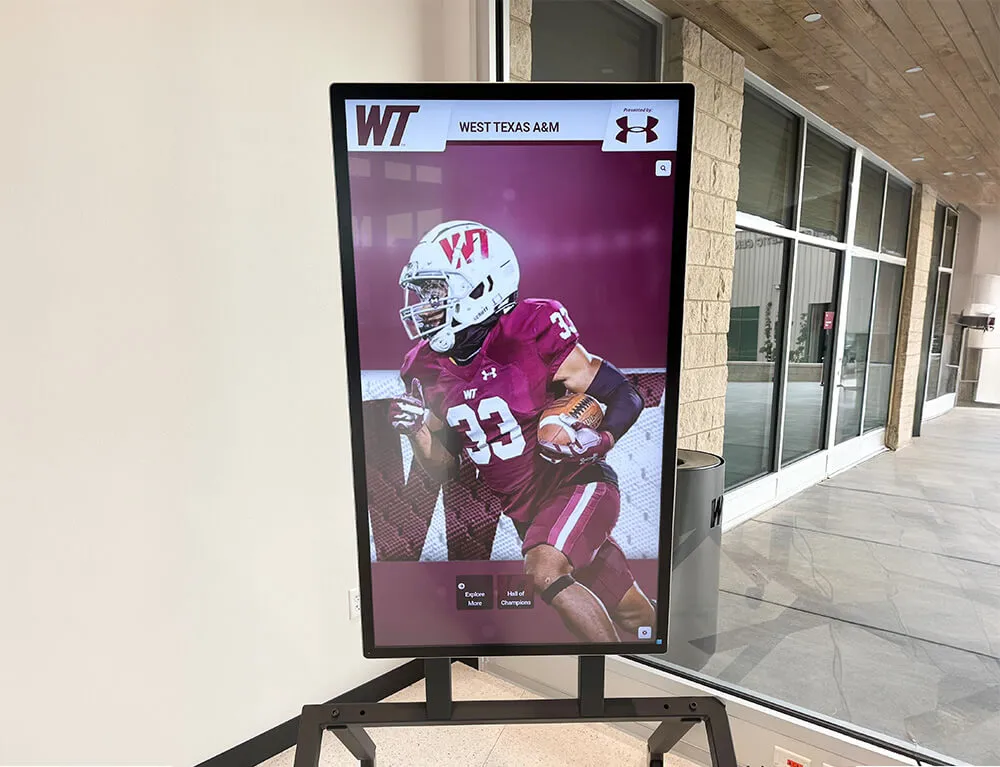
Permanent recognition displays celebrate volleyball statistical leaders, conference champions, and program excellence for current and future generations
Modern schools and athletic programs increasingly recognize volleyball achievement through sophisticated digital recognition systems that showcase:
- Statistical Leaders and Kill Records: Season and career kill leaders, attack percentage records, and offensive achievement milestones
- All-Conference and All-State Recognition: Individual honors recognizing exceptional attacking performance and complete play
- Championship Team Celebrations: Conference titles, regional championships, and state tournament success
- Senior Class Recognition: Career highlights, statistical accomplishments, and post-secondary opportunities
- Program History and Traditions: Multi-year excellence tracking, coaching tenure, and program development
These comprehensive recognition approaches ensure volleyball programs celebrate not just championship moments but the complete journey of skill development, competitive achievement, and athletic excellence that systematic spike technique training creates.
Schools implementing permanent athletic recognition discover that celebrating volleyball achievement:
- Builds program pride attracting talented athletes to the program
- Creates visible proof of coaching excellence and systematic player development
- Preserves program history ensuring accomplishments aren’t forgotten
- Motivates current athletes through tangible recognition goals
- Engages alumni maintaining connection to current program success
Volleyball programs developing technically sound hitters through systematic instruction create competitive advantages, championship opportunities, and athletes deserving celebration. From the first practice approach drill through senior night recognition as a statistical leader, investing in proper spike technique establishes foundations for athletic success and achievements worth preserving.
Ready to create a permanent volleyball recognition system celebrating your program’s kill leaders, all-conference performers, and championship teams? Rocket Alumni Solutions provides comprehensive digital recognition displays that transform athletic lobbies into interactive celebrations of volleyball excellence—preserving accomplishments, building program pride, and inspiring future generations of exceptional hitters.